Affogato Pie
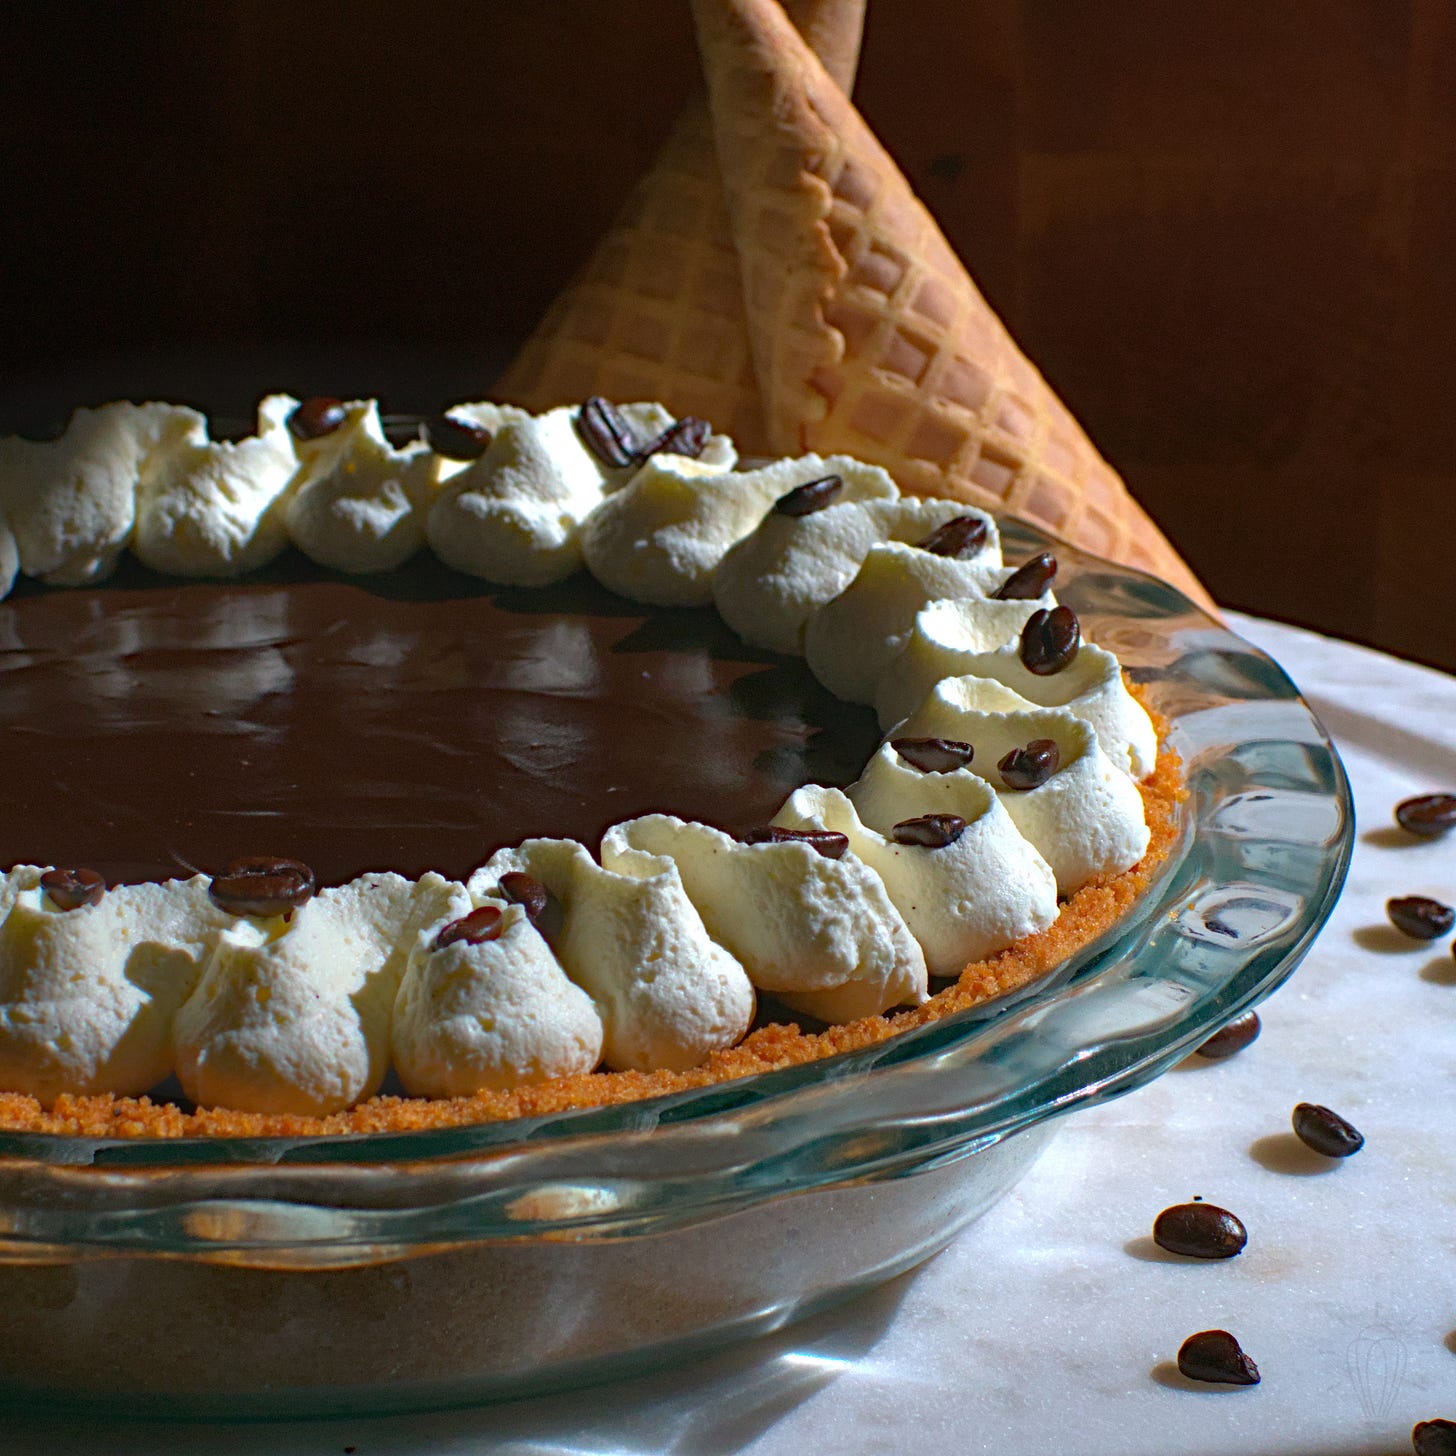
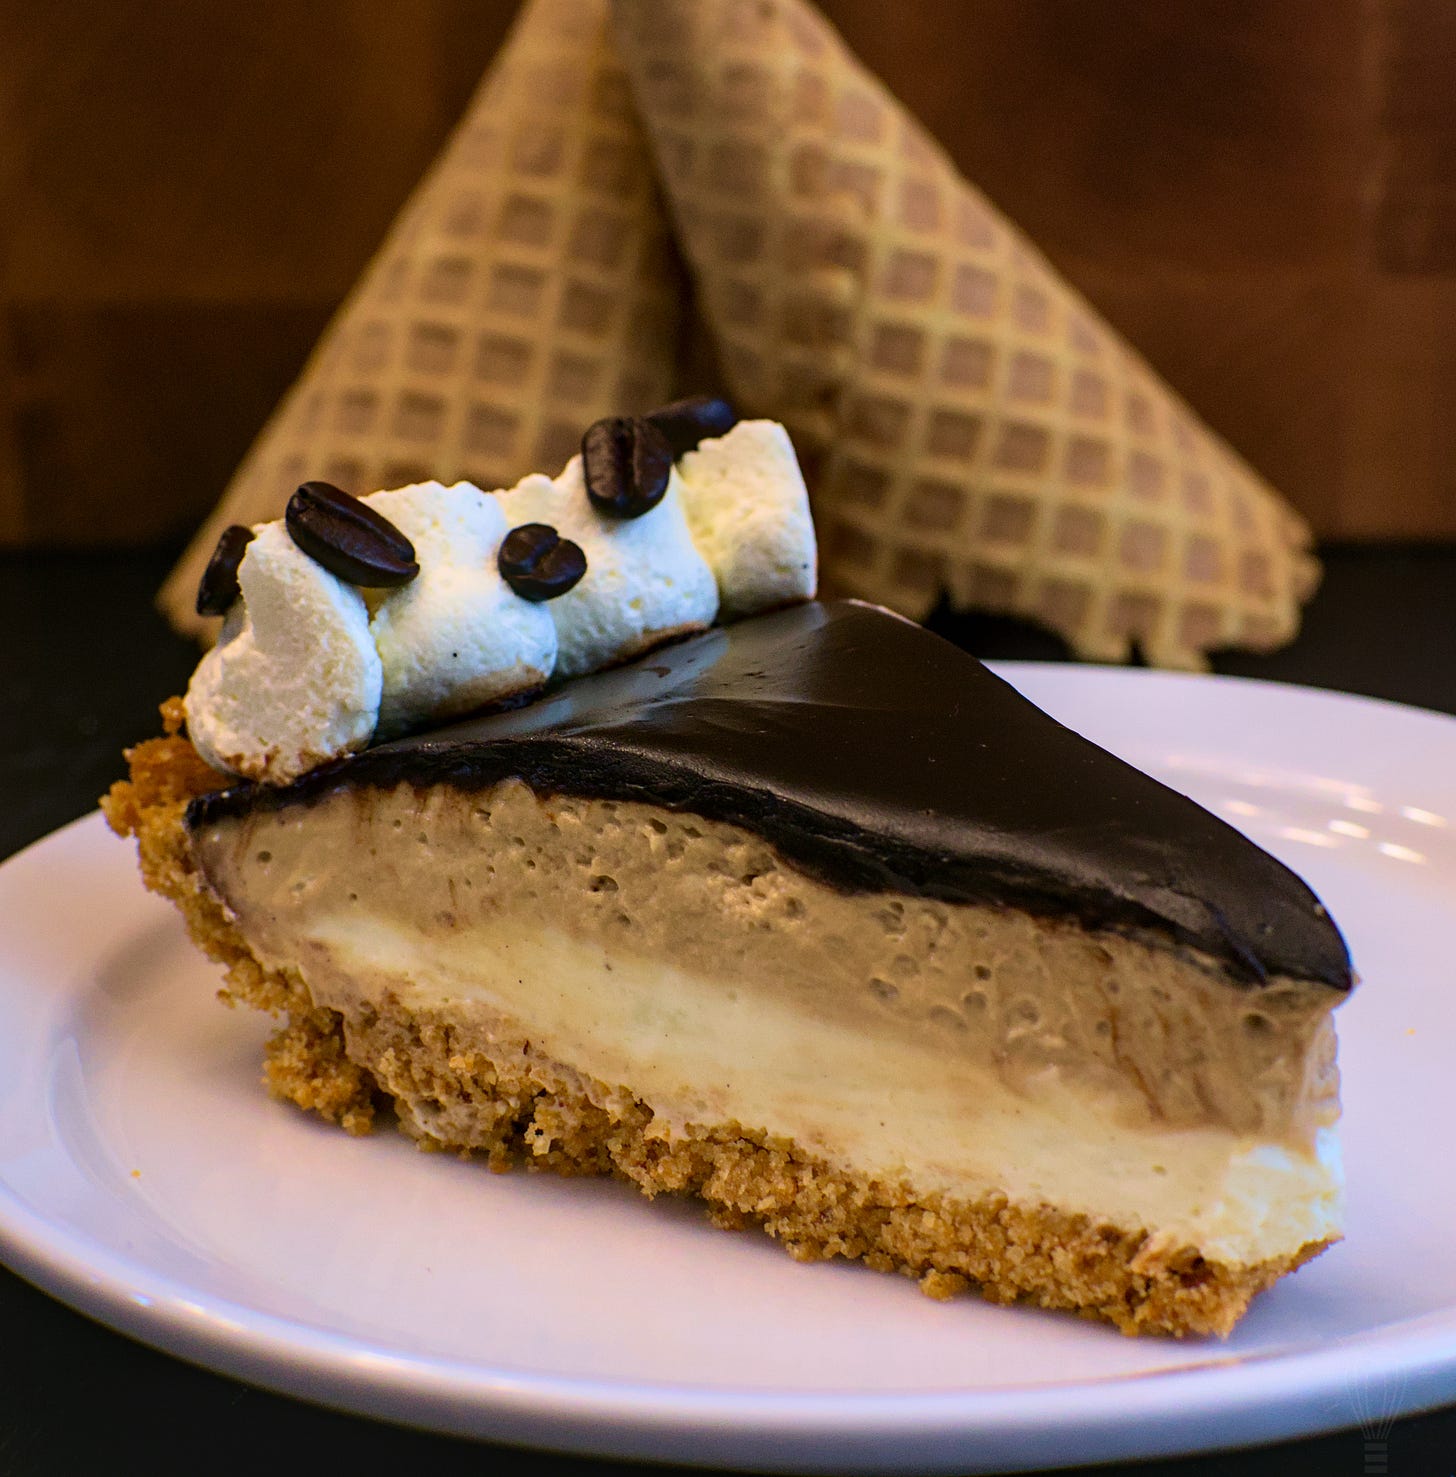
This ice cream-inspired pie is the perfect summer treat, with creamy layers of espresso and vanilla bean diplomat cream, delightfully bitter espresso ganache, all in a waffle cone crust.
We’re continuing our ice cream theme this week with a pie inspired by one of my favorite ice cream dishes: the affogato! A pretty simple dessert, the affogato is a scoop of vanilla ice cream topped with a shot of espresso. The espresso freezes and blends with the ice cream in a unique way, creating three distinct layers of flavor: the bitter espresso on top, the blended middle of coffee and vanilla flavors, and the sweet vanilla ice cream on the bottom. I did my best to replicate that experience with this recipe. And what better crust for an ice cream-inspired pie than one made of waffle cones?
Servings: 10 to 12 | Prep Time: 1 hour 20 mins + 2 hours chilling | Cook Time: 12 minutes
Food processor / Blender
9” deep dish pie pan
Saucepans
Fine-mesh sieve / Sifter
Plastic wrap
Hand-mixer / Stand-mixer
Offset spatula
Heat-safe bowls
Large piping bag
Large ribbon piping tip
Waffle Cone Crust:
12 waffle cones (7 oz)
⅓ cup brown sugar
⅛ tsp salt
6 tbsp butter, melted
Vanilla Bean Custard:
1 cup whole milk, divided
1 tsp vanilla bean paste
1 egg yolk
⅓ cup sugar
2 tbsp cornstarch
1 drop purple food coloring
Espresso Custard:
1 cup whole milk, divided
1 ½ tbsp instant espresso powder
1 egg yolk
⅓ cup sugar
2 tbsp cornstarch
Whipped Cream:
1 cup heavy whipping cream
4 tbsp powdered sugar
1 tsp vanilla bean paste
Espresso Ganache:
8 oz espresso baking chips or dark chocolate chips (I used Nestle Toll House Espresso Morsels)
1 cup heavy whipping cream
1 tbsp instant espresso powder
Decorations:
1 tsp gelatin powder
1 ½ tbsp cold water
1 ½ cups + 1 tsp heavy whipping cream, divided
½ cup powdered sugar
1 tsp vanilla bean paste
Whole espresso coffee beans
Waffle Cone Crust (15 minutes + 12 minutes baking)
Preheat oven to 350° F.
In a food processor, grind the waffle cones into fine crumbs with a few medium sized pieces.
Add the brown sugar and salt, and pulse until combined.
Stream in the melted butter and mix until fully incorporated.
Press the crust mixture firmly into the bottom and sides of a 9” deep dish pie pan.
Bake crust until lightly browned, about 12 minutes.
Let cool completely and set aside.
Vanilla Bean Custard (15 minutes)
Place ⅔ cup milk and the vanilla bean paste into a medium saucepan.
Cook over high heat, stirring often until it just starts to simmer. Remove from heat and set aside.
In a medium bowl, whisk together the sugar and cornstarch until there are no lumps.
Add the remaining ⅓ cup milk and egg yolk and whisk to combine.
While whisking vigorously, slowly pour the hot milk into the egg mixture.
Return mixture to saucepan and cook over high heat, whisking constantly, until it thickens and comes to a boil.
Pass through a fine-mesh sieve and into a bowl.
Place plastic wrap directly on top of the custard to prevent a skin from forming.
Chill in the fridge until needed.
Espresso Custard (15 minutes)
Place ⅔ cup milk and the espresso powder into a medium saucepan.
Cook over high heat, stirring often until it just starts to simmer. Remove from heat and set aside.
In a medium bowl, whisk together the sugar and cornstarch until there are no lumps.
Add the remaining ⅓ cup milk and egg yolk and whisk to combine.
While whisking vigorously, slowly pour the hot milk into the egg mixture.
Return mixture to saucepan and cook over high heat, whisking constantly, until it thickens and comes to a boil.
Pass through a fine-mesh sieve and into a bowl.
Place plastic wrap directly on top of the custard to prevent a skin from forming.
Chill in the fridge until needed.
Whipped Cream (5 minutes)
In a small bowl, with a hand-mixer, whisk the cream, sugar, and vanilla bean paste together until stiff peaks form. Set aside.
Assembly (10 minutes + 2 hours chilling)
Take the chilled vanilla and espresso custards out of the fridge.
Whisk each of the custards, with a hand-mixer, until smooth and creamy again.
Split the whipped cream in half and gently fold half into each of the custards.
Fill the pie pan with the vanilla cream, spreading it into the corners and smoothing the top with an offset spatula.
Cover with the espresso cream, making sure the top is nice and flat.
Cover and return to the fridge to chill for at least 2 hours.
Espresso Ganache (10 minutes)
Place the chocolate in a heat-safe bowl and set aside.
In a small saucepan, heat the cream over medium-low until it just comes to a boil.
Pour the cream over the chocolate and let sit 5 minutes.
Stir the ganache in one direction until smooth.
Heat ganache in the microwave for 15 to 45 seconds, or until ganache is flowing freely and steaming slightly.
Pour the ganache on top of the pie, and using an offset spatula to spread it around, make sure it completely covers the top in an even layer.
Return the pie to the fridge while you prepare the decorations.
Decorations (10 minutes)
In a small microwave-safe bowl, sprinkle the gelatin powder over 1 ½ tbsp cold water and let bloom for 5 minutes.
Melt the gelatin in the microwave for 5 seconds. If not fully melted, heat for another 3 seconds at a time, until there are no granules of gelatin visible.
Add in the 1 tsp of heavy cream and whisk together. If the gelatin is firm, heat in 5 second bursts until it's fully melted again.
In a large bowl, with a hand-mixer or stand-mixer, whisk the 1 ½ cups heavy whipping cream for 15 seconds on medium speed until foamy.
Add in the powdered sugar and vanilla and continue mixing until soft peaks just begin to form.
Reduce mixer speed to low and drizzle in the gelatin.
Mix on medium until firm peaks form. Do not over-mix or the whipped cream may become chunky and curdled.
Transfer to a large piping bag with a ribbon piping tip.
Pipe the stabilized whipped cream around the border of the pie.
Top the whipped cream with whole espresso beans.
Serve immediately. Store leftovers covered in the fridge up to a week.
Enjoy!
Be sure to check out my Best Practices page for tips on how to make this recipe yourself. Let me know in the comments if you have any questions and feel free to tag me on Instagram @made.by.shade if you make it!
-Shade


